The Hidden Costs of Cable TV in Canada, Line by Line
The advertised price is rarely the price you pay. Here is how to read a Canadian TV bill line by line, and work out what you really spend in a year.
October 13, 2026 · 4 min readReadReplace cable without missing your shows: list what you watch, check your internet, mix the right options, then cancel the right way.
In short: To cut the cord in Canada, start by listing what your household really watches, then make sure your internet can handle it. Most homes combine two or three options: a free antenna for local stations, one or two streaming apps for series, and IPTV for live channels and sports. Test everything for a week before you cancel cable, and ask about cancellation fees first.
Take one week and write down what everyone watches: live news, hockey nights, a few series, kids' shows, movies on weekends. Most families find that they use a small part of their cable package. This list decides everything else, so do not skip it.
Sort each item into one of three types:
Once cable is gone, all your TV comes through the internet. Check two things in your internet plan:
If your internet is bundled with cable TV, ask your provider for the price of internet alone. Sometimes the bundle discount disappears when you remove TV, and you want to know that number in advance. Our line-by-line guide to the hidden costs of cable TV helps you work out what TV really costs you today.
Ask for a free trial and test it on your own TV and internet before you pay. No credit card, no contract.
| Option | Best for | Cost | Keep in mind |
|---|---|---|---|
| TV antenna | Local stations and news | One-time purchase | Depends on how close you are to the towers |
| Streaming apps | Series and movies on demand | Monthly, per app | Costs add up when you stack several |
| IPTV | Live channels, sports, international TV | Monthly or longer plans | Needs a good, stable internet connection |
An antenna is the forgotten option. In and around many Canadian cities, a simple indoor or rooftop antenna picks up local stations in HD for free. Check which broadcast towers are near your address before buying one, since range varies a lot with distance and terrain.
Streaming apps are great for series, but each one has its own catalogue and price. Pick the one or two that match your list, and rotate: subscribe for the months when your shows are on, then pause.
IPTV fills the live part: channels, news, sports and international TV, in one app, on the devices you already own. It is the closest thing to the cable experience, with a channel list and a TV guide. If you moved to Canada recently, our guide for newcomers covers TV from back home.
Most smart TVs from the last few years can install streaming and IPTV apps directly. If yours cannot, a streaming stick plugged into an HDMI port turns any TV into a smart TV. There is no box to rent and no technician visit. Not sure which to use? Compare smart TV apps and streaming sticks. Our setup guide covers Fire TV, Android, Samsung, LG, Apple and MAG devices.
Do not cancel cable on day one. Run your new setup alongside it for a week, including the evenings and the games you care about most. Check the picture on every TV in the house, at the busiest hours, and see our tips for IPTV on several TVs. If something does not work, you still have time to adjust.
Want to see if IPTV covers your live TV before you cancel anything? Ask for a free trial and test it on your own TV, during the week you run both side by side.
Write to us in English or French. A real person answers, and there is no obligation to buy.
The advertised price is rarely the price you pay. Here is how to read a Canadian TV bill line by line, and work out what you really spend in a year.
October 13, 2026 · 4 min readRead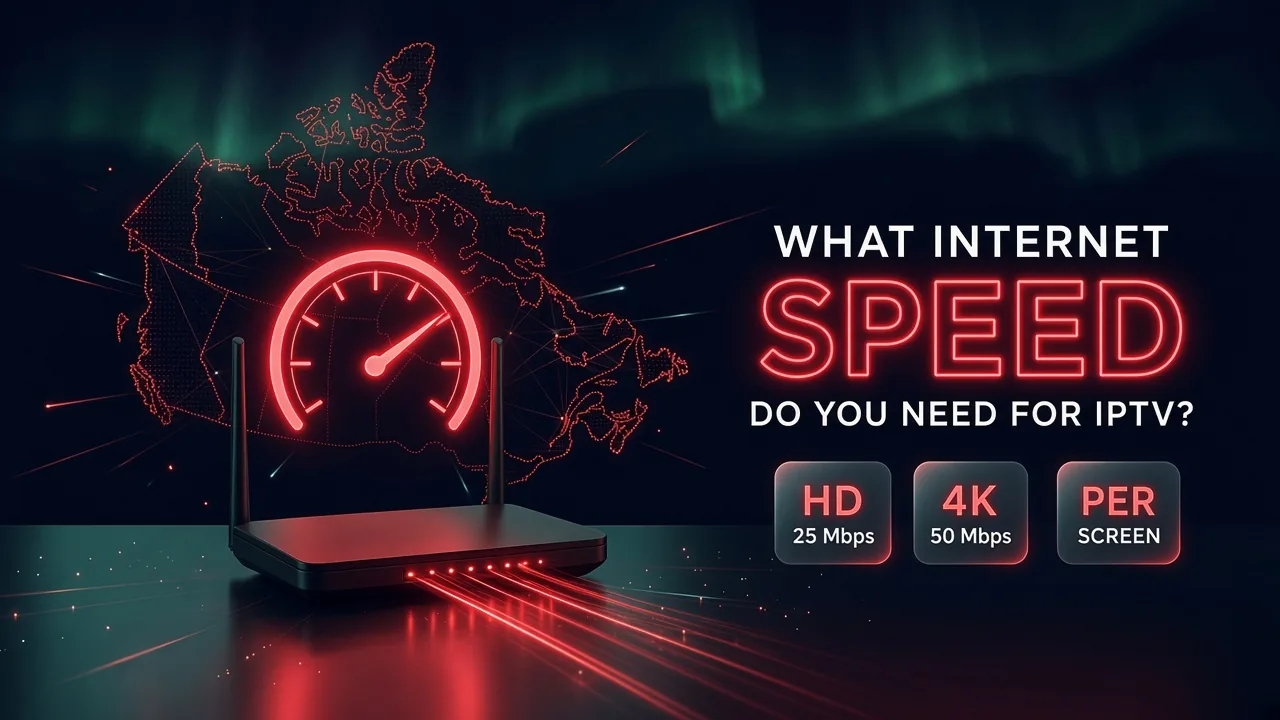
The speed on your internet bill is not the speed your TV gets. Here are the real numbers for HD and 4K, and how to add up several screens.
October 13, 2026 · 4 min readRead
Lifetime deals, gift card payments, impossible channel numbers. Ten warning signs to check, and what to do if you already paid.
October 12, 2026 · 4 min readReadSend us a message and we'll set up your free trial. No credit card, no contract. You test it at home, on your own internet, then decide.